Agarose gel electrophoresis
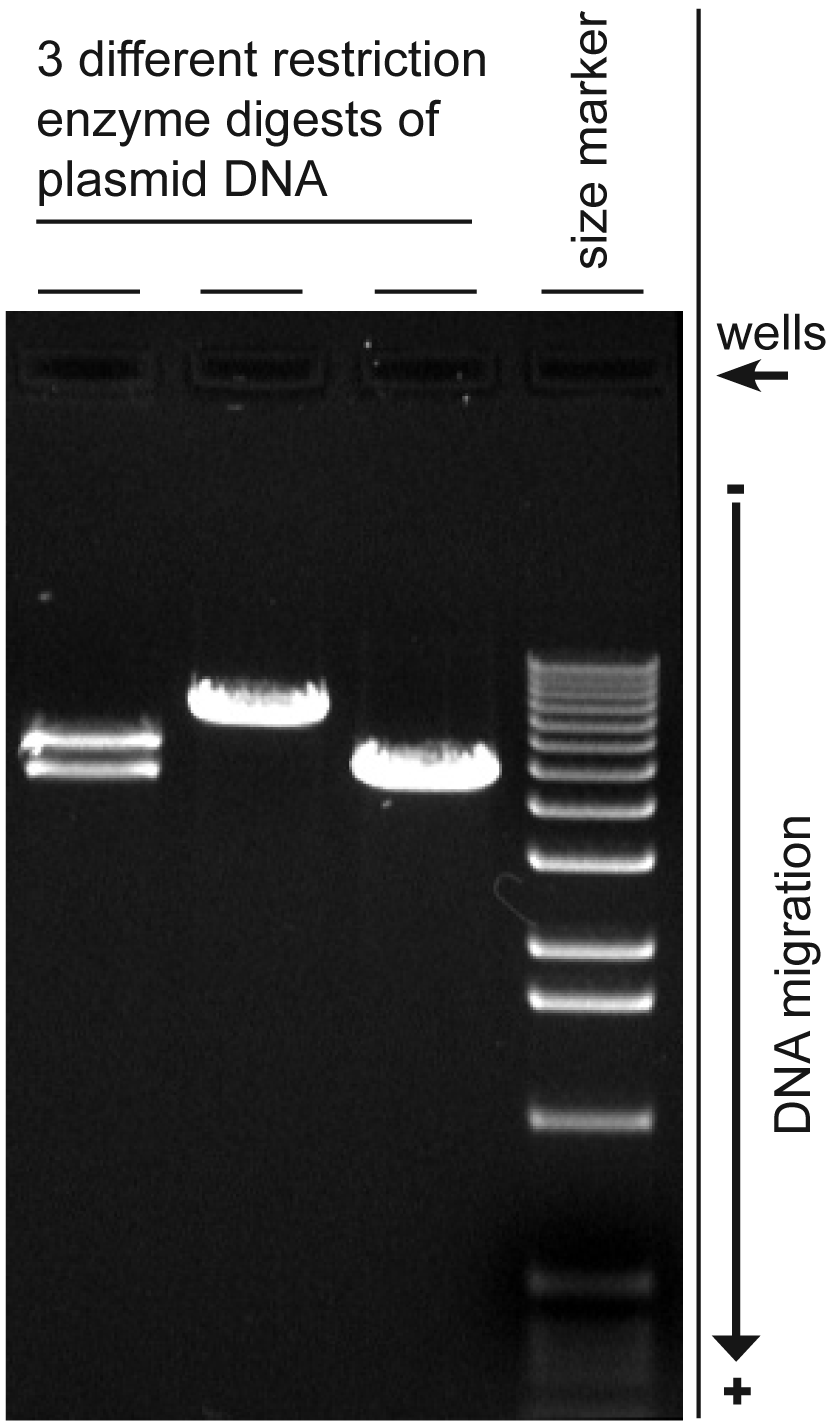
Agarose gel electrophoresis is a method used in biochemistry and molecular biology to separate DNA, RNA, or protein molecules by size. This is achieved by moving negatively charged nucleic acid molecules through an agarose matrix with an electric field (electrophoresis). Shorter molecules move faster and migrate further than longer ones.[1]
Applications
- Estimation of the size of DNA molecules following restriction enzyme digestion, e.g. in restriction mapping of cloned DNA.
- Analysis of PCR products, e.g. in molecular genetic diagnosis or genetic fingerprinting
- Separation of restricted genomic DNA prior to Southern transfer, or of RNA prior to Northern transfer.
The advantages are that the gel is easily poured, does not denature the samples, and is physically firmer than polyacrylamide. The samples can also be recovered.
The disadvantages are that gels can melt during electrophoresis, the buffer can become exhausted, and different forms of genetic material may run in unpredictable forms.
Factors affecting migration
The most important factor is the length of the DNA molecule, smaller molecules travel farther. But conformation of the DNA molecule is also a factor. To avoid this problem linear molecules are usually separated, usually DNA fragments from a restriction digest, linear DNA PCR products, or RNAs.
Increasing the agarose concentration of a gel reduces the migration speed and enables separation of smaller DNA molecules. The higher the voltage, the faster the DNA migrates. But voltage is limited by the fact that it heats and ultimately causes the gel to melt. High voltages also decrease the resolution (above about 5 to 8 V/cm).
Conformations of a DNA plasmid that has not been cut with a restriction enzyme will move with different speeds (slowest to fastest): nicked or open circular, linearised, or supercoiled plasmid.
Visualisation: EtBr and dyes
The most common dye used for agarose gel electrophoresis is ethidium bromide, usually abbreviated as EtBr. It fluoresces under UV light when intercalated into DNA (or RNA). By running DNA through an EtBr-treated gel and visualizing it with UV light, distinct bands of DNA become visible. Alternatives to ethidium bromide are available.
Loading buffers are added with the DNA in order to visualize it and sediment it in the gel well. Negatively charged indicators keep track of the position of the DNA. Xylene cyanol and Bromophenol blue are typically used. They run at about 5000 bp and 300 bp respectively, but the precise position varies with percentage of the gel. Other less frequently used progress markers are Cresol Red and Orange G which run at about 125 bp and 50 bp.
Resolution limits
Gel electrophoresis can be used for the separation of DNA fragments of 50 base pairs up to several megabases (millions of bases). However, it is normally used in a range of 100 bp to 20 kbp. Typical run times are about an hour.
Small nucleic acids are better separated by polyacrylamide gels, large DNA molecules are only able to move end-on in a process called "reptation" and are more difficult to separate. In general higher concentrations of agarose are better for larger molecules; it will exaggerate the distances between bands. The disadvantage of higher concentrations is the long run times (sometimes days). Instead these gels should be run with a pulsed field electrophoresis (PFE), or field inversion electrophoresis.
Agarose
Agarose is purified from agar, a gelatinous substance isolated from seaweed or red algae. Different purities of agarose are commercially available as are agaroses with different melting properties. High purity low melt agarose is often used if the DNA is to be extracted from the gel.
Buffers
There are a number of buffers used for agarose electrophoresis. The most common being: tris acetate EDTA (TAE), Tris/Borate/EDTA (TBE) and Sodium borate (SB). TAE has the lowest buffering capacity but provides the best resolution for larger DNA. This means a lower voltage and more time, but a better product. SB is relatively new and is ineffective in resolving fragments larger than 5 kbp; However, with its low conductivity, a much higher voltage could be used (up to 35 V/cm), which means a shorter analysis time for routine electrophoresis. As low as one base pair size difference could be resolved in 3% agarose gel with an extremely low conductivity medium (1 mM Lithium borate).[2]
Analysis
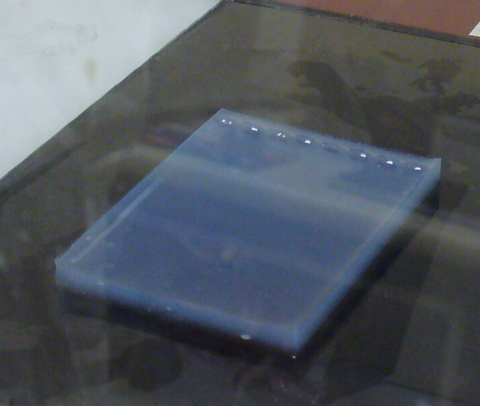
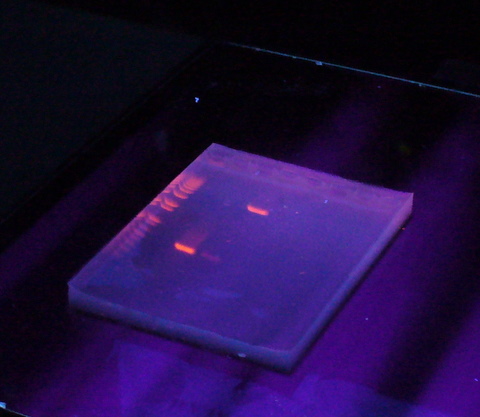
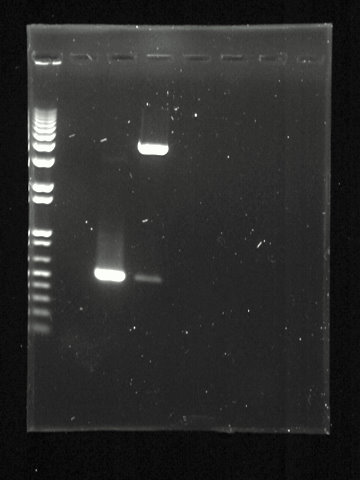
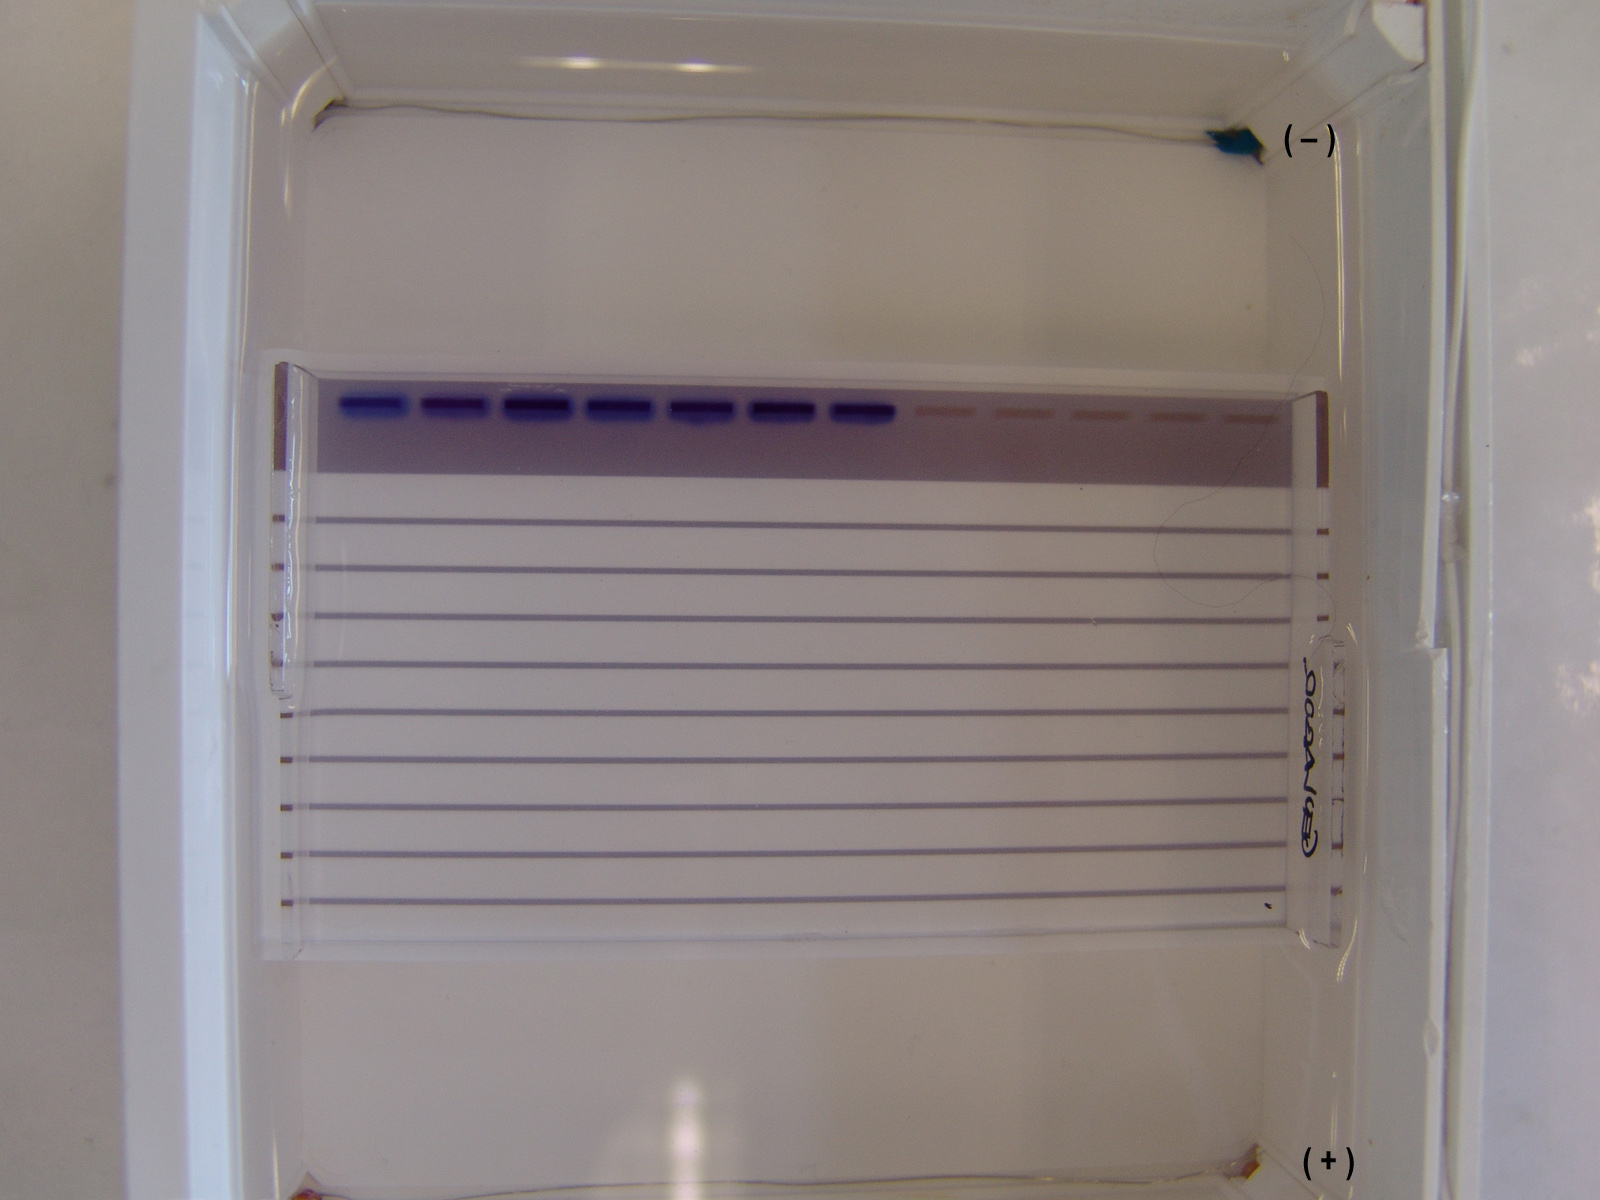
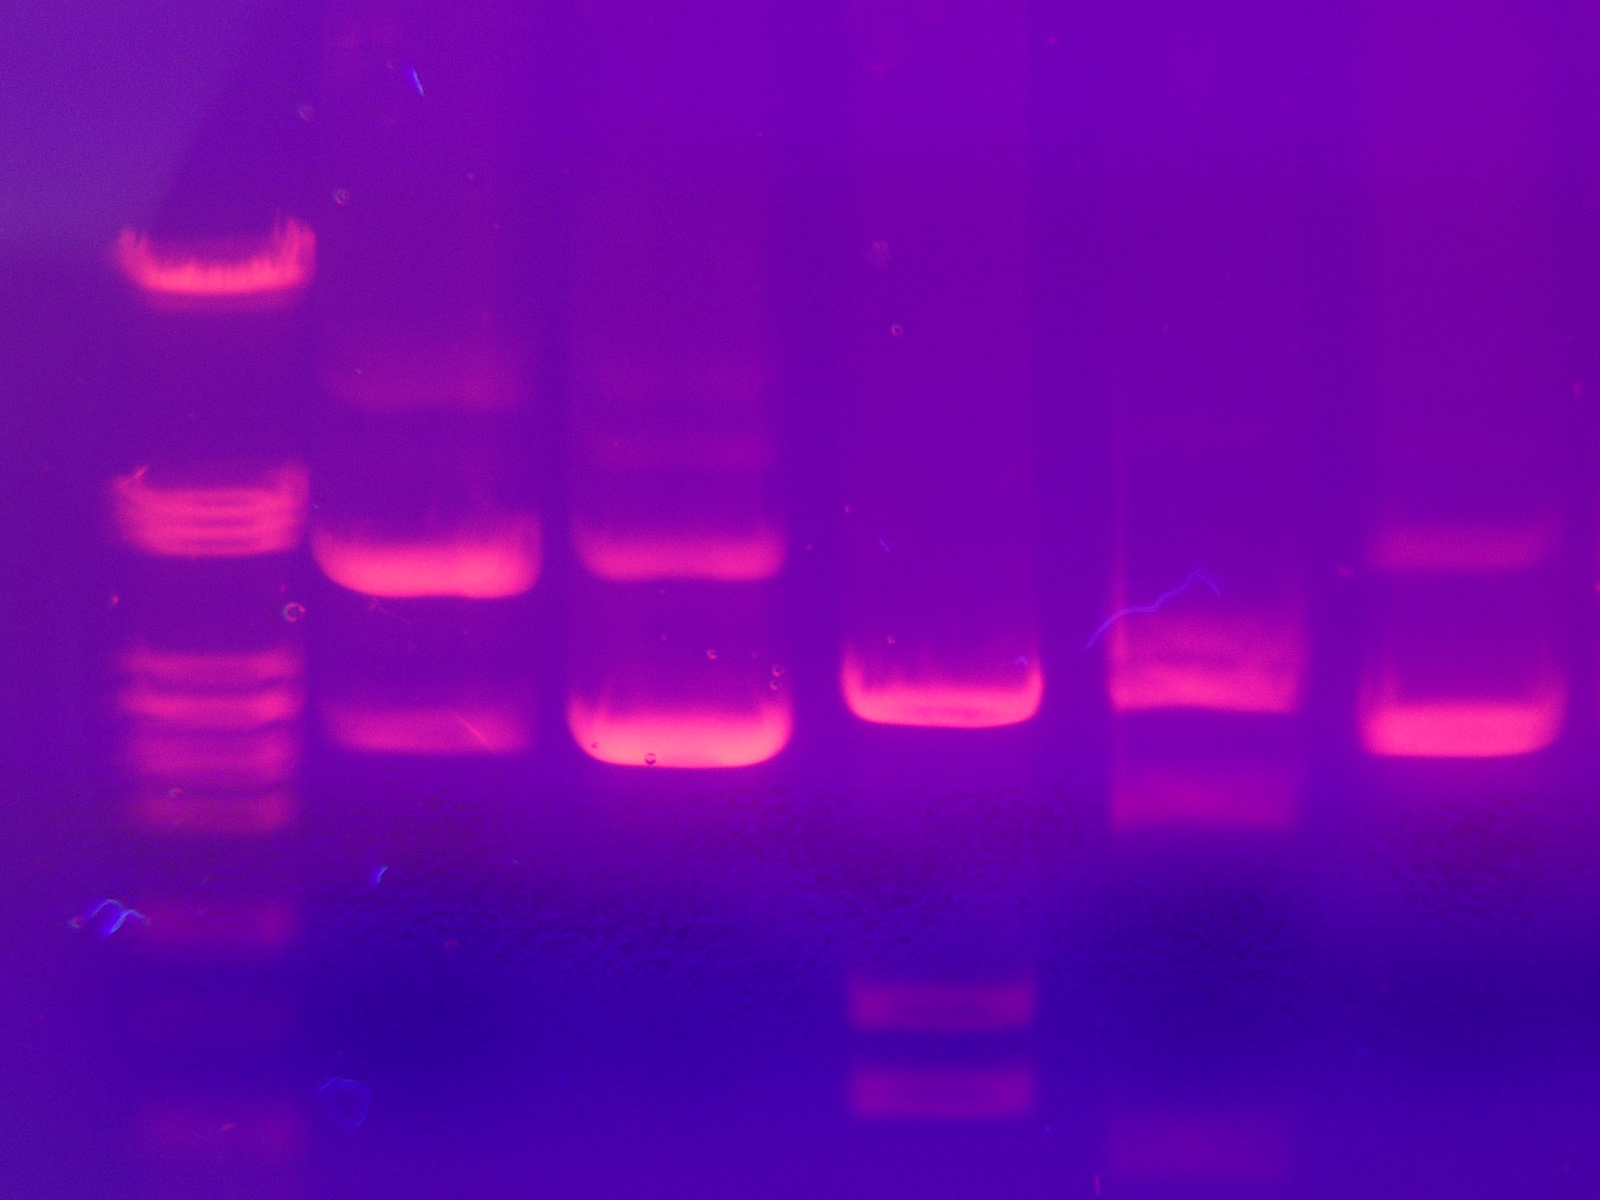
After electrophoresis the gel is illuminated with an ultraviolet lamp (usually by placing it on a light box, while using protective gear to limit exposure to ultraviolet radiation) to view the DNA bands. The ethidium bromide fluoresces reddish-orange in the presence of DNA. The DNA band can also be cut out of the gel, and can then be dissolved to retrieve the purified DNA. The gel can then be photographed usually with a digital or polaroid camera. Although the stained nucleic acid fluoresces reddish-orange, images are usually shown in black and white (see figures).
Gel electrophoresis research often takes advantage of software-based image analysis tools, such as ImageJ.
| 1 | 2 | 3 |
|---|---|---|
 |
 |
 |
Typical materials and method
Materials
For an agarose gel electrophoresis, several items are needed:
- DNA fragments to separate; typically 10-30 μl/sample
- DNA size markers.
- A mixture of DNA fragments (usually 10-20) of known size. DNA size markers may be purchased from a commercial source or prepared manually.
- Buffer solution, usually TBE buffer or TAE 1.0x, pH 8.0
- Agarose
- Ethidium bromide stock (5.25 mg/ml in H2O).
- Alternative dyes may be used, such as SYBR Green.
- Nitrile rubber gloves
- Latex gloves do not protect well from ethidium bromide
- A color marker dye containing a low molecular weight dye such as "bromophenol blue" (to enable tracking the progress of the electrophoresis) and glycerol (to make the DNA solution more dense so it will sink into the wells of the gel).
- A gel rack
- A "comb"
- Power Supply
- UV lamp or UV lightbox or other method to visualize DNA in the gel
Preparation
There are several methods for preparing agarose gels. A common example is shown here. Other methods might differ in the buffering system used, the sample size to be loaded, the total volume of the gel (typically thickness is kept to a constant amount while length and breadth are varied as needed). The vast majority of agarose gels used in modern biochemistry and molecular biology are prepared and run horizontally.
- Make a 2% agarose solution in 100ml TAE. A solution of up to 4% can be used if you analyze small DNA molecules, and for large molecules, a solution as low as 0.8% is preferable. Use 15-100 mL, depending on the size of the gel.
- Bring the solution to the boil to dissolve the agarose, preferably in a microwave oven.
- Let the solution cool down to about 60 °C at room temperature, or water bath. Stir or swirl the solution while cooling.
Wear gloves from here on, ethidium bromide is a mutagen, for more information on safety see ethidium bromide
- Add 5 µl ethidium bromide stock per 100 ml gel solution. Be very careful when handling the concentrated stock. Some researchers prefer not to add ethidium bromide to the gel itself, instead soaking the gel in an ethidium bromide solution after running.
- Stir the solution to disperse the ethidium bromide, then pour it into the gel rack.
- Insert the comb at one side of the gel, about 5-10 mm from the end of the gel.
- When the gel has cooled down and become solid, carefully remove the comb. The holes that remain in the gel are the wells or slots.
- Put the gel, together with the rack, into a tank with 0.5x TBE. Ethidium bromide at the same concentration can be added to the buffer. Make sure the gel is completely covered with TBE, and that the slots are at the end electrode that will have the negative current.
Procedure
After the gel has been prepared, use a micropipette to inject about 2.5 µl of stained DNA (a DNA ladder is also highly recommended). Close the lid of the electrophoresis chamber and apply current (typically 100 V for 30 minutes with 15 ml of gel). The colored dye in the DNA ladder and DNA samples acts as a "front wave" that runs faster than the DNA itself. When the "front wave" approaches the end of the gel, the current is stopped. It is now possible to visualize the DNA (stained with ethidium bromide) with ultraviolet light.
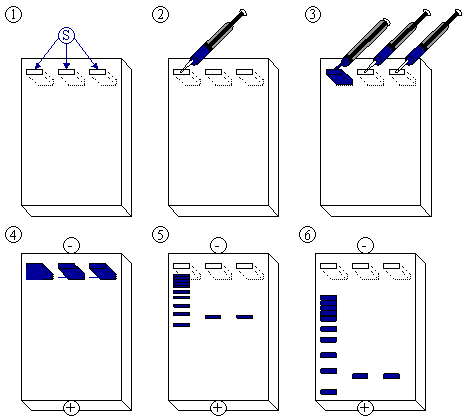
Steps:
- The agarose gel with three slots/wells (S).
- Injection of DNA ladder (molecular weight markers) into the first slot.
- DNA ladder injected. Injection of samples into the second and third slot.
- A current is applied. The DNA moves toward the positive anode due to the negative charges on its phosphate backbone.
- Small DNA strands move fast, large DNA strands move slowly through the gel. The DNA is not normally visible during this process, so the marker dye is added to the DNA to avoid the DNA being run entirely off the gel. The marker dye has a low molecular weight, and migrates faster than the DNA, so as long as the marker has not run past the end of the gel, the DNA will still be in the gel.
- Add the color marker dye to the DNA ladder.
References
- ↑ Sambrook J, Russel DW (2001). Molecular Cloning: A Laboratory Manual 3rd Ed. Cold Spring Harbor Laboratory Press. Cold Spring Harbor, NY.
- ↑ Brody JR, Calhoun ES, Gallmeier E, Creavalle TD, Kern SE (2004). Ultra-fast high-resolution agarose electrophoresis of DNA and RNA using low-molarity conductive media. Biotechniques. 37:598-602. [1]
See also
- gel electrophoresis
- SDS-polyacrylamide gel electrophoresis
- Southern blot
- Northern blot
- PCR
- Restriction endonuclease