Radiology Image Insertion
Editor-In-Chief: C. Michael Gibson, M.S., M.D. [1]; Associate Editor(s)-in-Chief: Seyedmahdi Pahlavani, M.D. [2]
Overview
It is important to have accurate insight when you are interpreting an imaging series such as CT scans, MRIs, or angiography. From a student's point of view, it may be needlessly complicated to look for a lesion in many frames. For this reason, creating an animated image with highlighted lesions is preferable to uploading many images, since it makes the image more accessible for all users.
Here we describe how to make an animated GIF file with highlighted lesions.
How to insert an imaging series for CT scan or MRI
If you want to present a series of images (e.g., CT scans, MRIs) instead of uploading many discrete images, you can highlight the pathologic part of the image by encircling it in yellow and then combine the images to create a GIF file by following the steps listed below:
- 1. Prepare the raw image
- 2. Open the raw image in PowerPoint
- 3. In upper bar, click on review
- 4. Click on Start Inking, select Pen in the left upper corner then, choose the yellow color with appropriate thickness (Do not use highlighter)
- 5. Highlight the pathologic part step by step and save the output image one by one. An example is below.
-
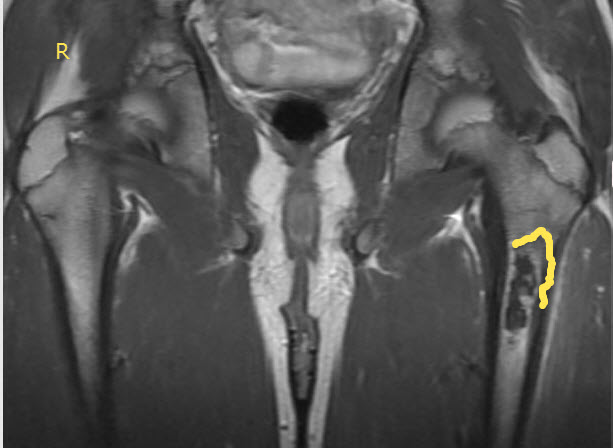
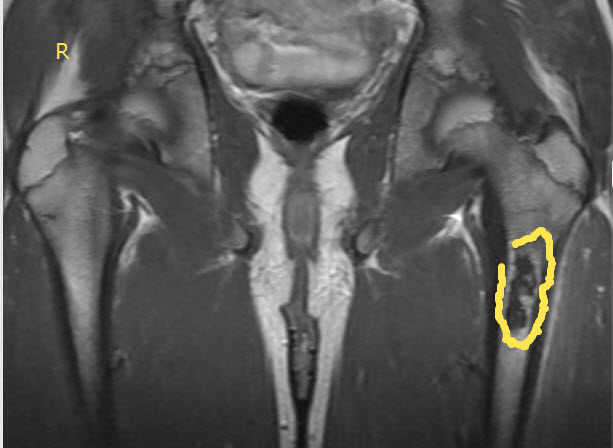
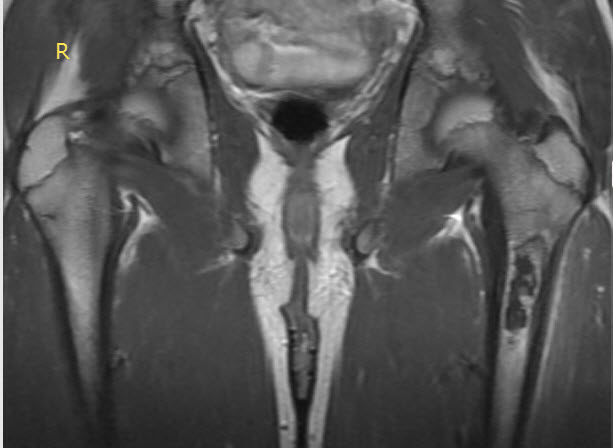 The raw image
 -
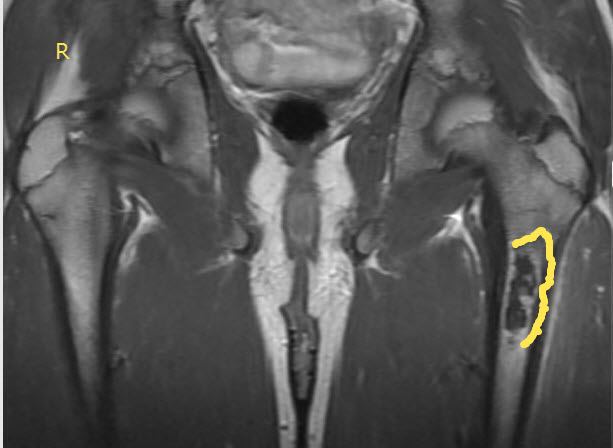
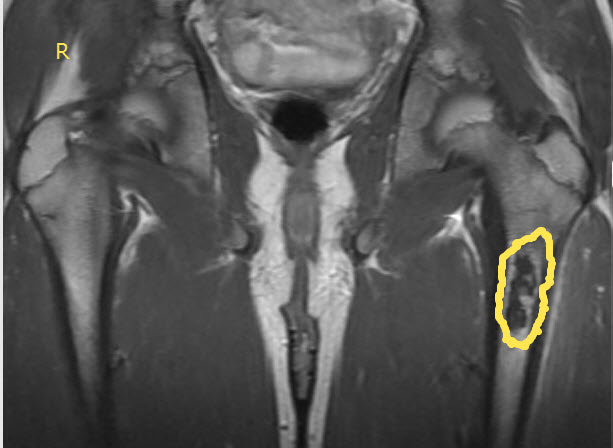
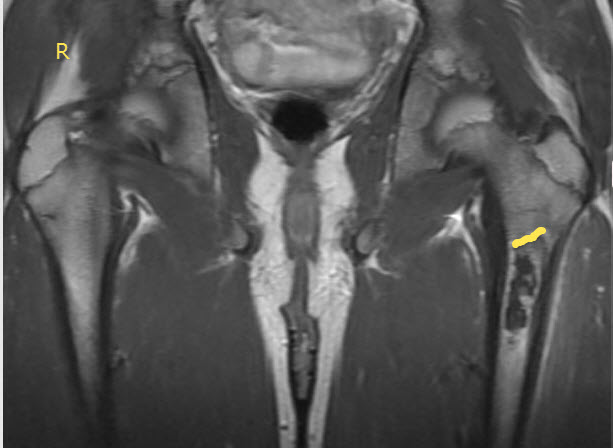 1st highlighted image
 -
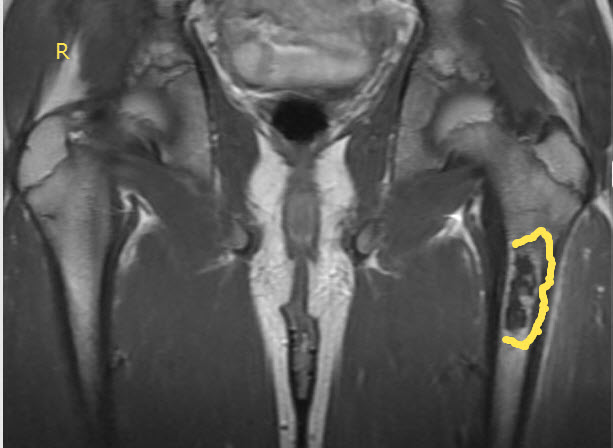
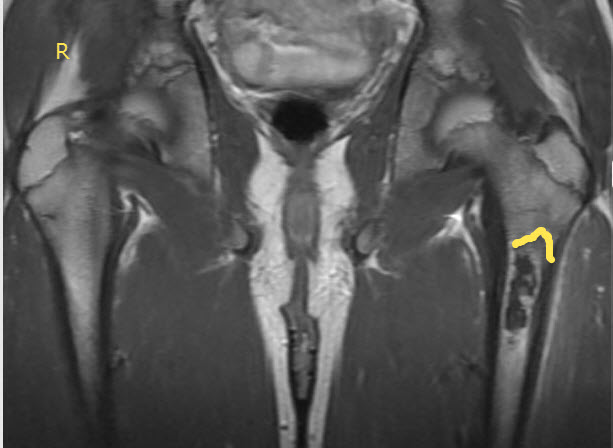 2nd highlighted image
 -
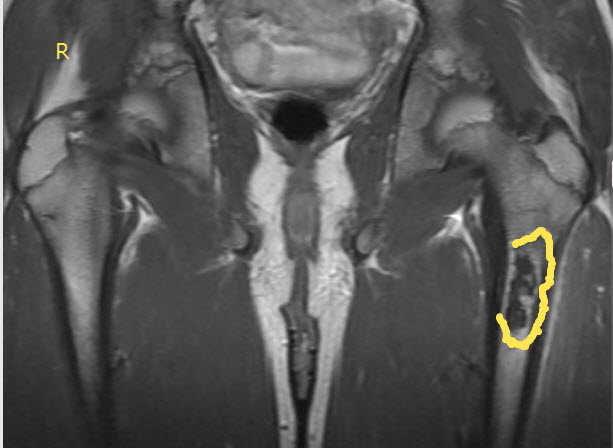
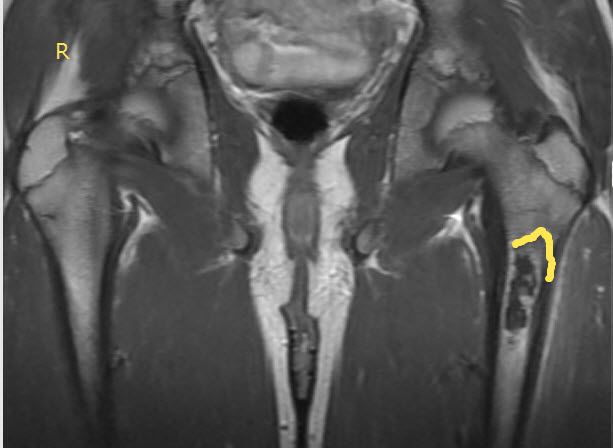 3rd highlighted image
 -
 4th highlighted image
 -
 5th highlighted image
 -
 6th highlighted image
 -
 7th highlighted image
 -
 8th highlighted image
 -
 9th highlighted image
 -
 10th highlighted image
 -
 11th highlighted image


- 6. Upload the images to a GIF maker software or website such as gifmaker.me
- 7. Set the animation speed to 2100 msec for output gif file
- 8. Download or save the GIF file
- 9. Upload the animated GIF file to wikidoc server by using this link: Upload file
- 10. Insert the GIF file to your imaging section by using the following code
[[Image:File name.gif|500px|The imaging description]]
Here are 2 examples for imaging series:

